 By
By Chapter 1:
Write a Python function
Let’s start by creating an app and writing some Python code. We’ll write a Python function that emails us some feedback.
Step 1: Create an app
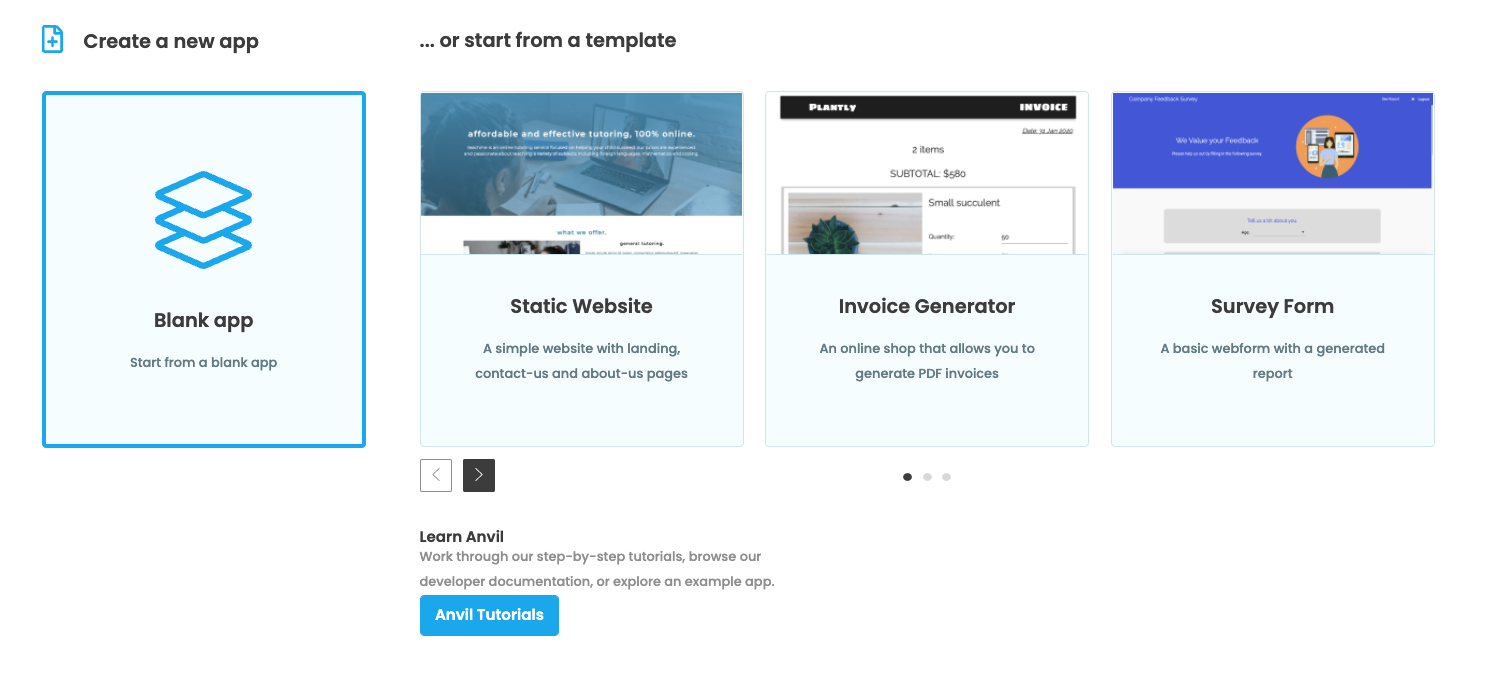
Log in to Anvil and click ‘Blank App’. Choose the Material Design theme.
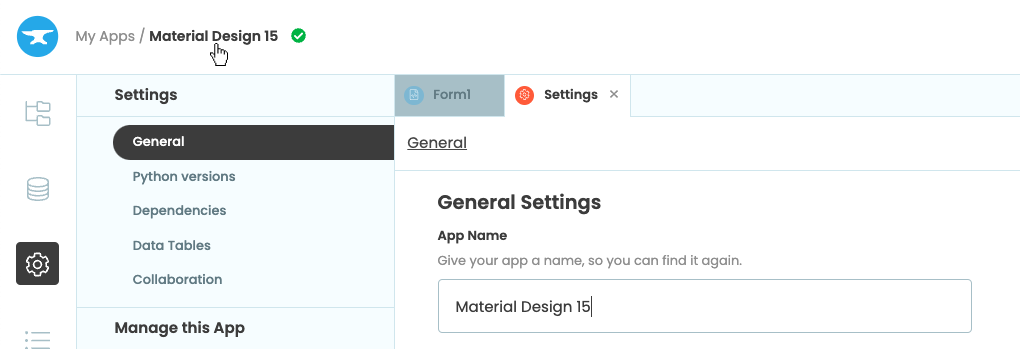
First, name the app. Click on the name at the top of the screen and give it a name.
Step 2: Add a Server Module
We’ll write our function in a Server Module. Anything you can do in Python you can do in a Server Module.
Create a Server Module by selecting the App Browser ![]() in the Sidebar Menu and clicking ‘+ Add Server Module’.
in the Sidebar Menu and clicking ‘+ Add Server Module’.
Adding a Server Module
Step 3: Create a function to email yourself
We’ll write a server function to email us feedback using Anvil’s built-in Email Service.
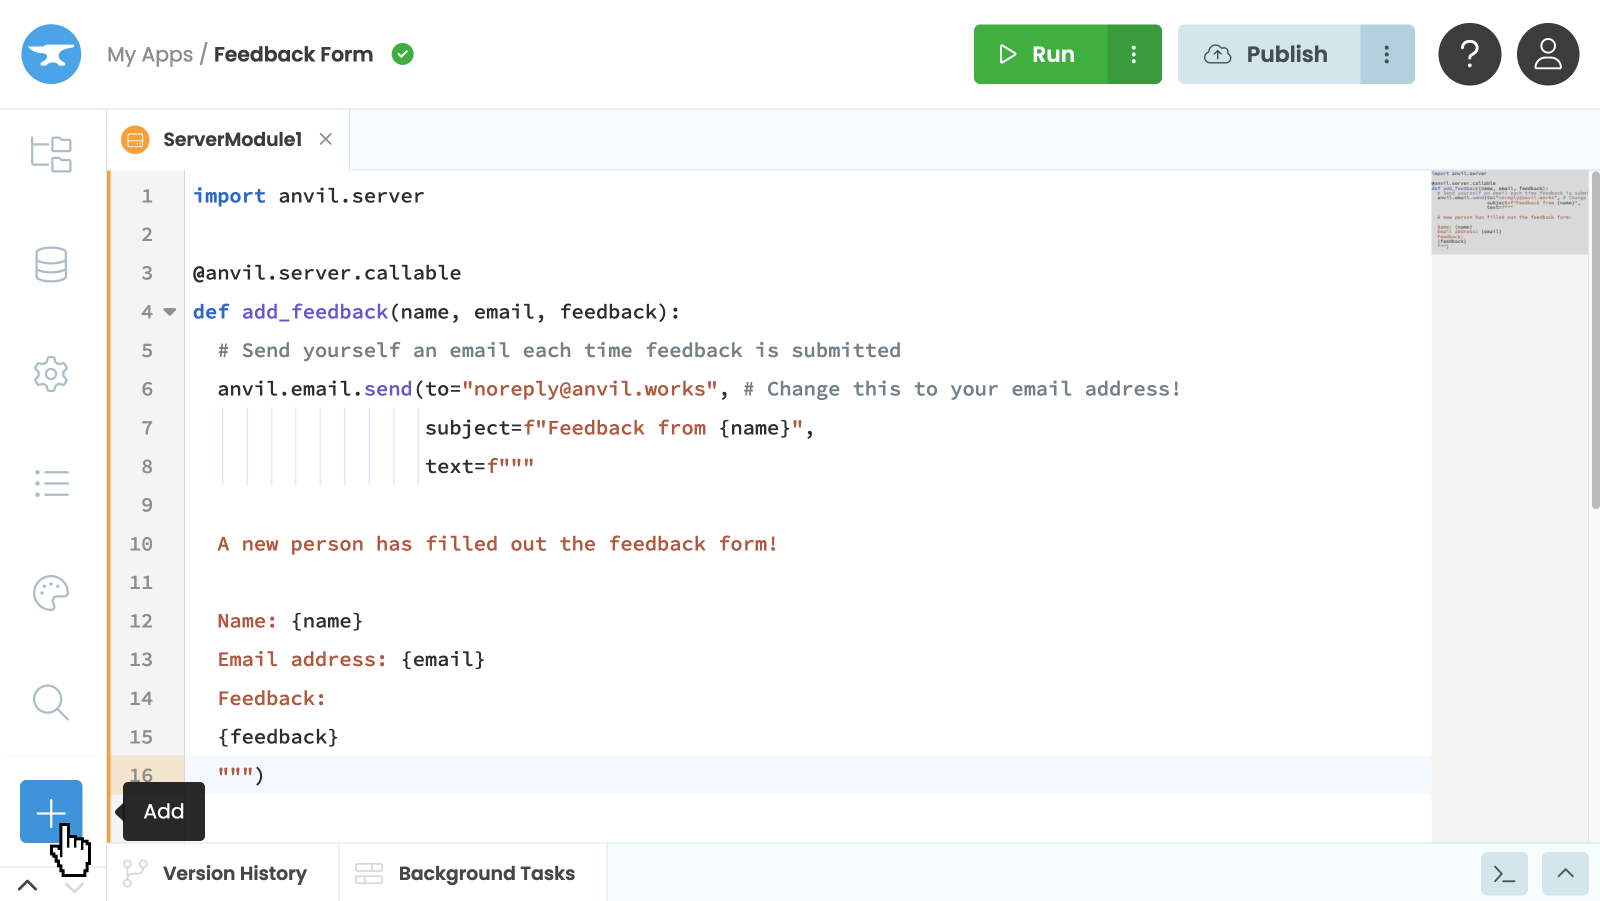
Let’s add this function to our Server Module:
def send_feedback(name, email, feedback):
  # Send yourself an email each time feedback is submitted
  anvil.email.send(to="noreply@anvil.works", # Change this to your email address!
                   subject=f"Feedback from {name}",
                   text=f"""

  A new person has filled out the feedback form!

  Name: {name}
  Email address: {email}
  Feedback:
  {feedback}
  """)
In order for anvil.email.send to work, we need to add the Email Service. Select the blue ‘+’ button in the sidebar menu to open the list of available services. Then, click on the ‘Email’.
Add a service
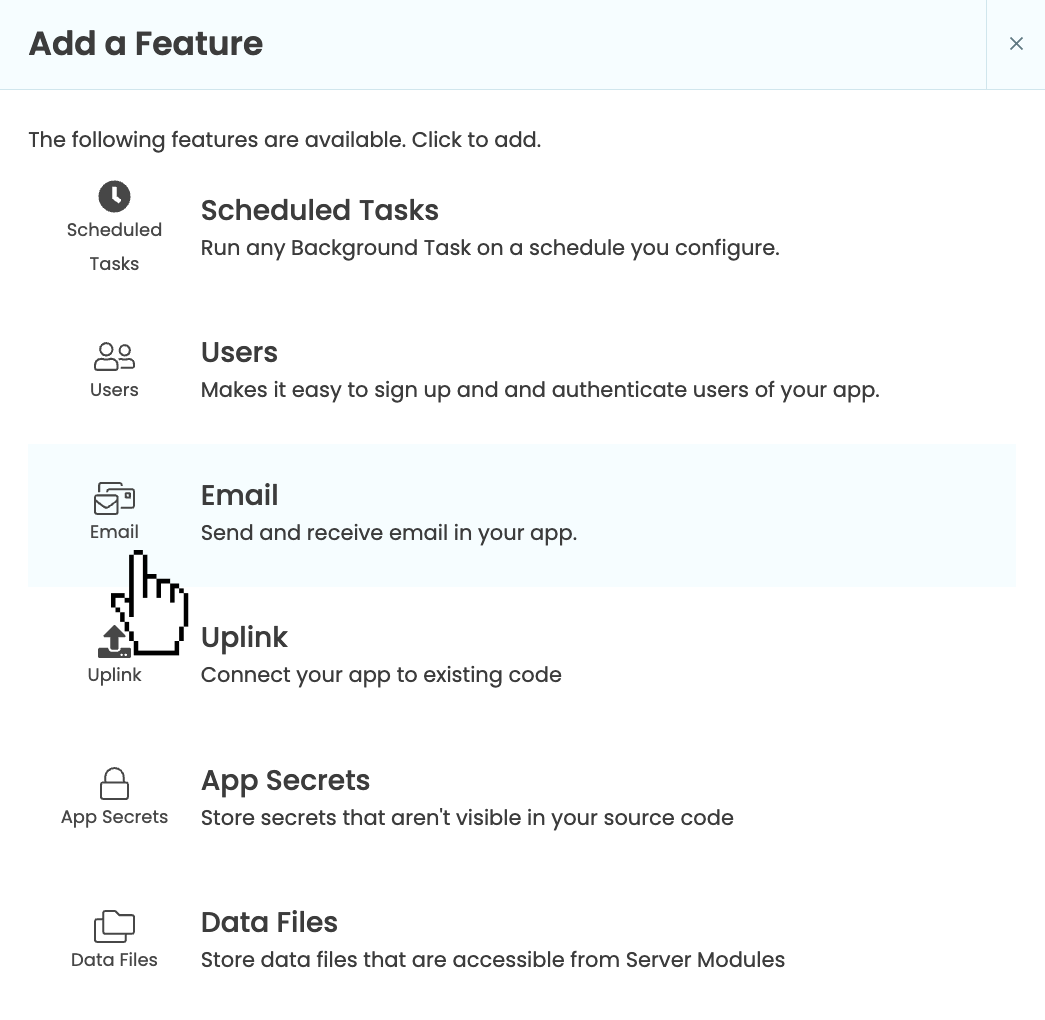
Select the Email Service
In Chapter 2, we’ll create a UI that uses our feedback function.